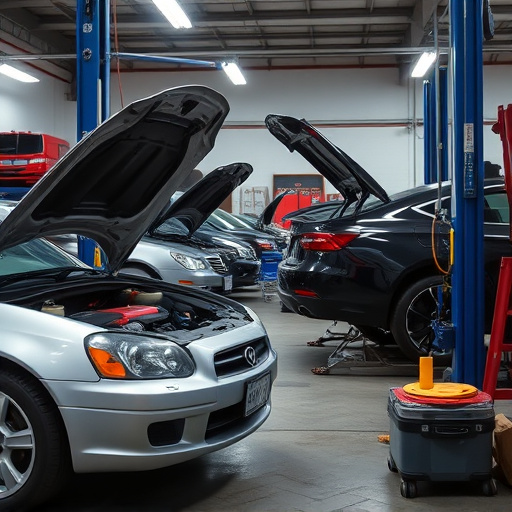
Mercedes pearl effect repair requires professional expertise to restore damaged, iridescent finishes. Skilled technicians address common issues like improper preparation and misalignment, using specialized tools for precise multi-layer application. The process involves surface inspection, sanding, cleaning, priming, painting, and clear coating for a flawless, luxurious finish.
Unveil the intricate beauty of Mercedes pearl effect finishes, a captivating blend of science and art. This article delves into the complex world of paint layers, offering insights into the unique composition and potential challenges of these luxurious finishes. From understanding the science behind their shimmering allure to identifying common issues in repairs, we guide you through the process. Learn the step-by-step restoration techniques to revive the gleam of your Mercedes pearl effect, ensuring a flawless finish that stands the test of time.
- The Science Behind Mercedes Pearl Effect Finishes
- Identifying Common Paint Layer Issues in Pearl Effect Repairs
- Restoring Pearl Effect: Step-by-Step Guide
The Science Behind Mercedes Pearl Effect Finishes
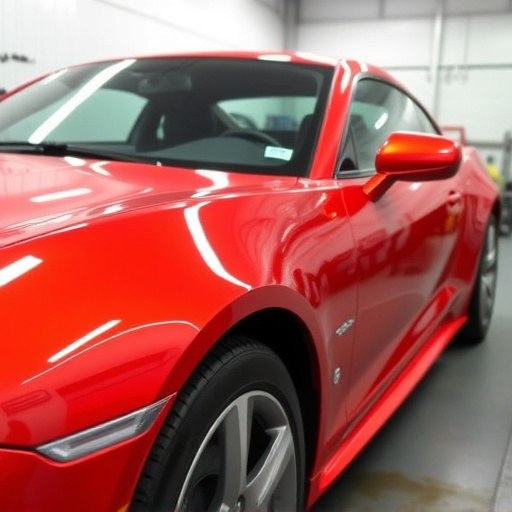
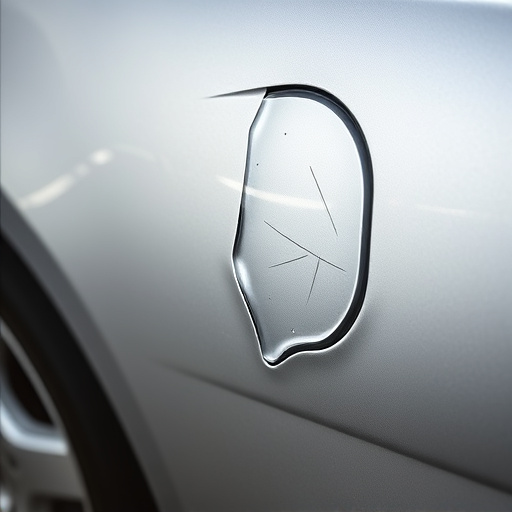
The Mercedes pearl effect finishes are renowned for their stunning, iridescent glow that seems to change with every angle of view. This unique aesthetic isn’t merely superficial; it’s a result of sophisticated science. These finishes employ a multi-layer approach, combining pigments, resins, and special effects particles in precise layers. Each layer plays a crucial role: one might reflect light, creating depth and shimmer, while another could provide subtle color shifts or a metallic sheen.
The science behind this process involves careful control of coating thickness, particle distribution, and the interaction between different materials. Damage to these delicate layers can impair the pearl effect’s beauty and brilliance. Consequently, Mercedes pearl effect repair demands expertise, precision, and specialized tools from automotive body shops, ensuring that scratches or dents are meticulously addressed without compromising the finish’s integrity. This level of care is vital for maintaining the vehicle’s striking appearance, making it a key consideration for any collision repair shop tackling such intricate repairs.
Identifying Common Paint Layer Issues in Pearl Effect Repairs
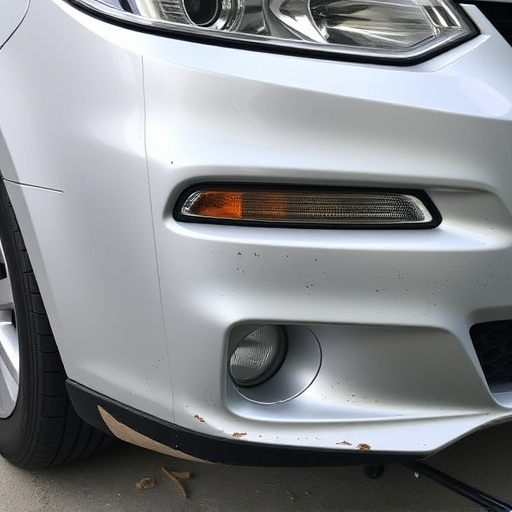
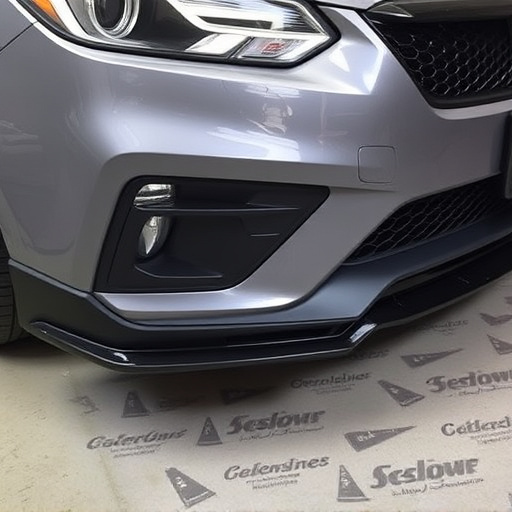
When undertaking Mercedes pearl effect repairs, identifying common paint layer issues is crucial for achieving a flawless finish. One of the primary challenges lies in understanding that pearl coatings are delicate and often require multiple layers to create the desired effect. Inadequate preparation of the surface or misalignment during application can result in visible imperfections, such as waves, bubbles, or uneven thickness. These issues may arise from improper technique, contaminated tools, or subpar materials, leading to a less-than-satisfactory repair outcome.
Additionally, previous collision damage or poor original workmanship in the paint job can complicate matters. Cracks, delaminations, or patchwork repairs introduce complexities that demand meticulous attention during the layering process. Skilled technicians at reputable auto collision centers are equipped to handle these challenges, utilizing advanced tools and techniques to ensure each layer is precisely applied, fostering a harmonious blend of colors and textures that define Mercedes pearl effect finishes.
Restoring Pearl Effect: Step-by-Step Guide
Restoring a Mercedes pearl effect finish involves a meticulous process to revive its original allure. Here’s a step-by-step guide for those looking to undertake this luxurious vehicle repair:
1. Safety First: Begin by ensuring your workspace is well-ventilated and protected with gloves, safety glasses, and a mask. This prevents direct contact with harmful chemicals and dust.
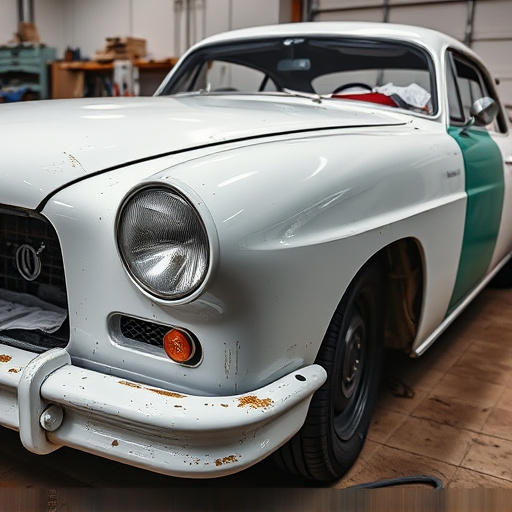
2. Inspect and Assess: Carefully examine the damaged area to identify the extent of the pearl effect wear or loss. Take note of any underlying paint issues like rust, flaking, or pitting that might require separate treatment.
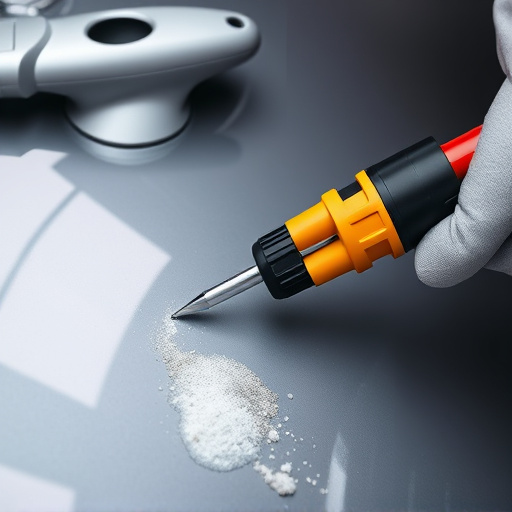
3. Prepare the Surface: Using 1500-grit sandpaper, gently sand the affected area until it’s smooth and free from debris. This step is crucial for a successful Mercedes pearl effect repair as it ensures better adhesion of new layers.
4. Clean Thoroughly: After sanding, thoroughly clean the surface with an appropriate cleaner to remove any dust or residue. A clean surface is essential for achieving a flawless finish.
5. Apply Primer: To bridge any gaps between old and new paint, apply a high-quality primer specifically designed for luxury vehicle repair. This layer provides a solid base for the subsequent pearl effect coating.
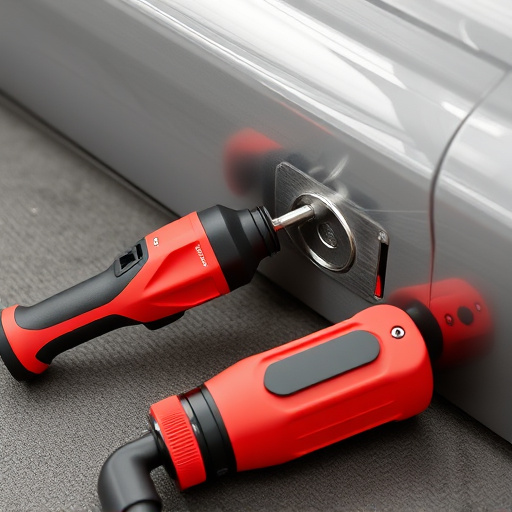
6. Paint with Care: Using a professional airbrush or spray gun, carefully apply the Mercedes pearl effect paint. Follow the manufacturer’s instructions regarding drying times between coats. Patience is key to achieving a consistent and beautiful finish.
7. Final Touches: Once the final coat has dried completely, inspect your work. Lightly sand with 2000-grit paper for a smooth surface, then apply a clear coat to protect the pearl effect and bring out its brilliance.
Understanding the intricate layers of a Mercedes pearl effect finish is key to successful repairs. By identifying common issues and following a meticulous step-by-step guide, professionals can restore these captivating finishes to their former glory. This process ensures not only visual enhancement but also maintains the vehicle’s overall value, making it an essential skill for any Mercedes pearl effect repair specialist.