Mercedes pearl effect finishes are renowned for their iridescent glow, achieved through a multi-layer process including base coat, primer, color coat, and clear coat. Each layer serves a specific function crucial for aesthetics and structural integrity. Mastering these layers is key to effective Mercedes pearl effect repair, especially techniques like paintless dent repair. Damage assessment, proper workspace preparation, sanding, polishing, and applying clear coat are essential steps in restoration.
Uncover the intricate world of Mercedes Pearl Effect finishes, where understanding paint layers is key to achieving a flawless, glossy surface. This article delves into the complex layering process that creates these distinctive effects, from base coats to toppings. Learn how each layer contributes to the final radiance and why proper repair techniques are essential for maintaining this premium finish. Discover a step-by-step guide to Mercedes pearl effect repair, ensuring your vehicle’s exterior shines as brilliantly as new.
- Unveiling Mercedes Pearl Effect Layers
- The Role of Each Paint Layer in Creation
- Restoring Pearl Effect Finishes: Step-by-Step Guide
Unveiling Mercedes Pearl Effect Layers
Mercedes Pearl Effect finishes are renowned for their stunning, iridescent glow—a result of a meticulous layering process. Underneath the glossy top coat lies a complex structure designed to refract light and create a captivating, pearl-like effect. These layers aren’t just about aesthetics; they’re crucial for achieving the signature depth and durability associated with Mercedes vehicles.
Understanding these layers is key when it comes to Mercedes pearl effect repair. A typical construction involves several stages: base coat, primer, color coat, and finally, the clear coat. Each layer serves a specific purpose, from establishing a smooth surface to enhancing color vibrancy and providing protection against environmental factors. This intricate design ensures that any damage, whether from a fender bender or other automotive repair, not only compromises aesthetics but also impacts the vehicle’s overall integrity.
The Role of Each Paint Layer in Creation
In the intricate world of Mercedes pearl effect finishes, understanding the role of each paint layer is key to achieving a flawless repair outcome. These advanced coatings are composed of multiple layers designed to mimic the mesmerizing brilliance of pearls, creating a stunning, iridescent sheen. The base coat serves as the foundation, providing color and protection. Over this, a clear coat—often containing special pigments—is applied, which enhances the pearl effect by reflecting light in a captivating manner. The intermediate layers act as filters, allowing specific wavelengths of light to interact with the base and create the signature pearlized appearance.
For Mercedes pearl effect repair, mastering these layers is crucial. Whether it’s for car dent repair or addressing other cosmetic issues, understanding how each layer contributes to the overall finish enables automotive repair specialists to employ tailored techniques. For instance, when considering paintless dent repair methods, knowledge of these layers ensures technicians can address dents without disrupting the delicate balance required for a pristine pearl effect. This meticulous approach is what sets apart top-tier automotive repair services.
Restoring Pearl Effect Finishes: Step-by-Step Guide
Restoring Mercedes Pearl Effect Finishes: A Step-by-Step Guide
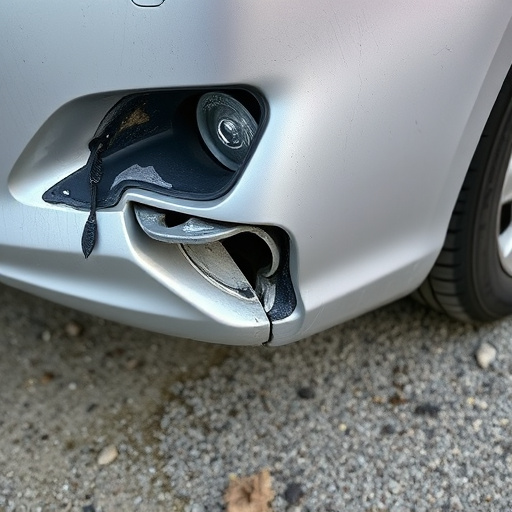
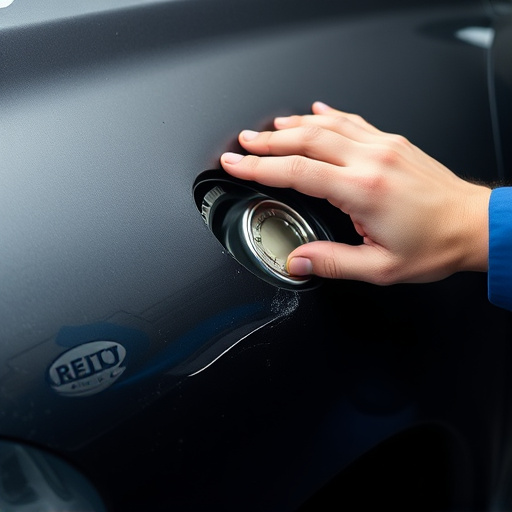
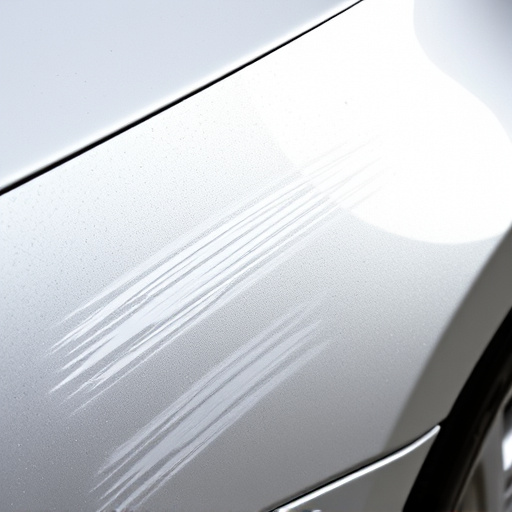
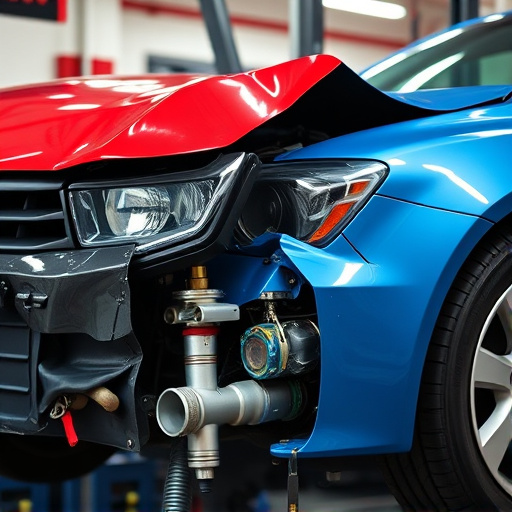
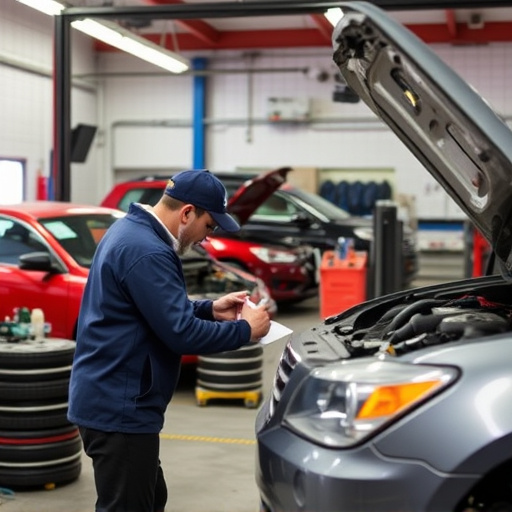
The first step in restoring a damaged Mercedes pearl effect finish is to assess the extent of the damage. Check for chips, scratches, or areas where the glossy layer has worn off. Depending on the severity, you might need to consult a professional auto collision center offering car bodywork services, especially if frame straightening is required.
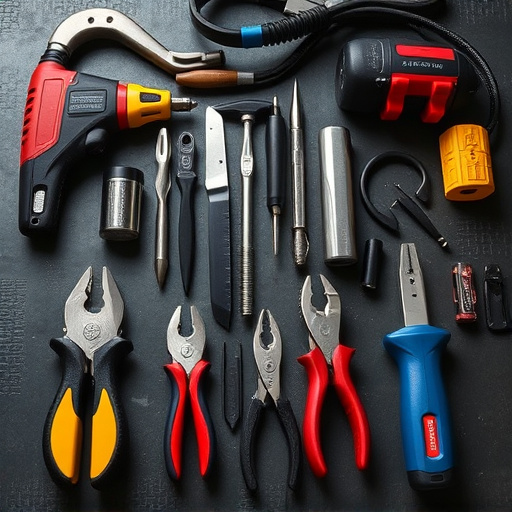
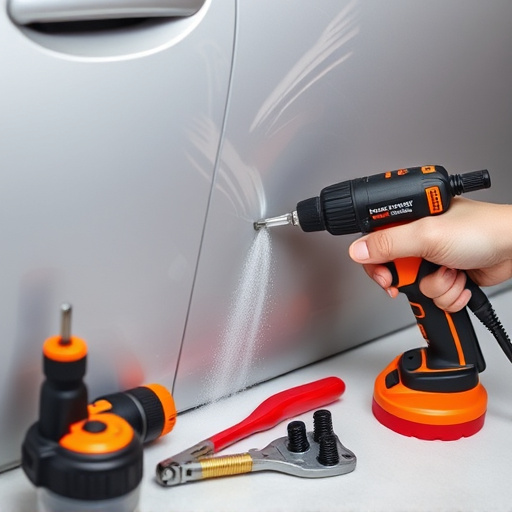
Next, prepare your workspace by ensuring proper ventilation and gathering all necessary tools: fine-grit sandpaper, automotive polish, a microfiber cloth, and a clear coat or sealer suitable for pearl effect finishes. Lightly sand the affected area to smoothen any imperfections, taking care not to sand through the entire glossy layer. After cleaning the dust, apply automotive polish using circular motions, working in small sections at a time. Once polished, apply a thin, even coat of clear coat or sealer, allowing it to dry completely before moving on to the next step.
Mercedes Pearl Effect finishes are renowned for their captivating, multifaceted allure, enhancing the aesthetic appeal of vehicles. Understanding the intricate layers that comprise these finishes is key to both their creation and restoration. By delving into the unique roles of each paint layer, we’ve equipped readers with valuable insights for Mercedes pearl effect repair. Whether aiming to preserve the original gloss or restore a faded pearl effect, grasping these complexities empowers enthusiasts to achieve exquisite results.