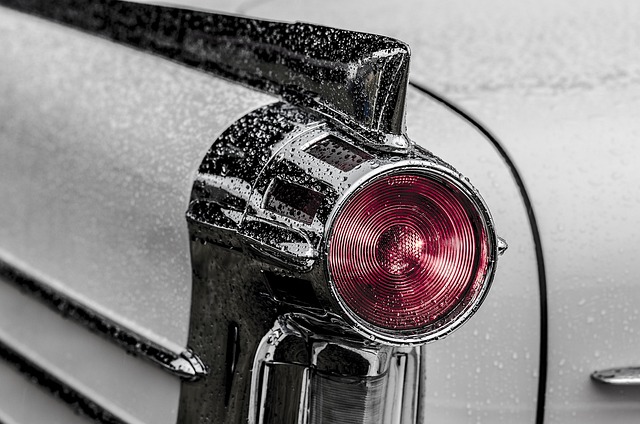
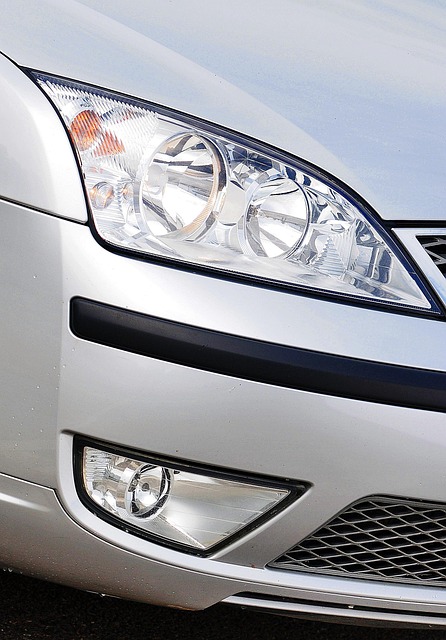

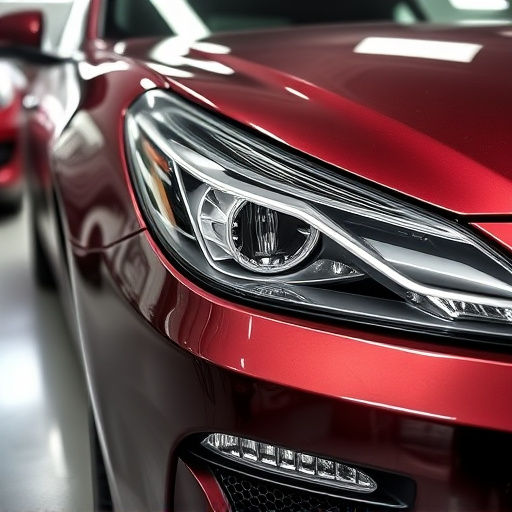
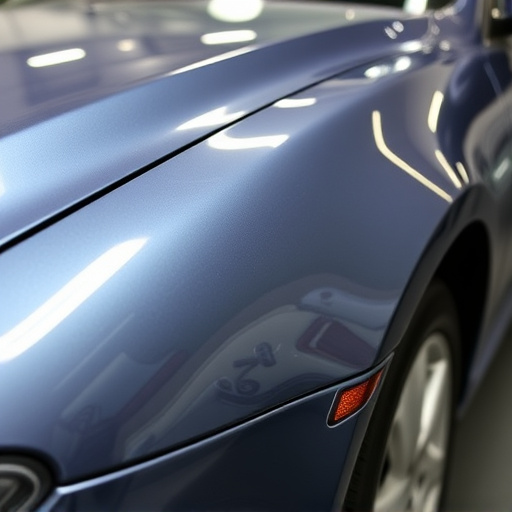
Before repairing a Mercedes pearl effect, inspect for damage, consult a professional for major issues, and prepare the surface with cleaning, drying, sanding, and applying specific primer. For minor repairs, use touch-up kits and mix base coat and pearl paint precisely in thin layers to match the original finish.
“Unchipped or faded Mercedes pearl effect paint can dramatically enhance your vehicle’s appeal. This step-by-step guide walks you through the process of Mercedes pearl effect repair, from assessing damage and gathering materials to preparing the surface and applying primer and paint. With the right tools and techniques, you’ll achieve a professional-looking restoration that boosts your Mercedes’ overall value and aesthetics.”
- Assess Damage and Gather Materials
- Prepare Surface and Apply Primer
- Mix and Apply Pearl Effect Paint
Assess Damage and Gather Materials
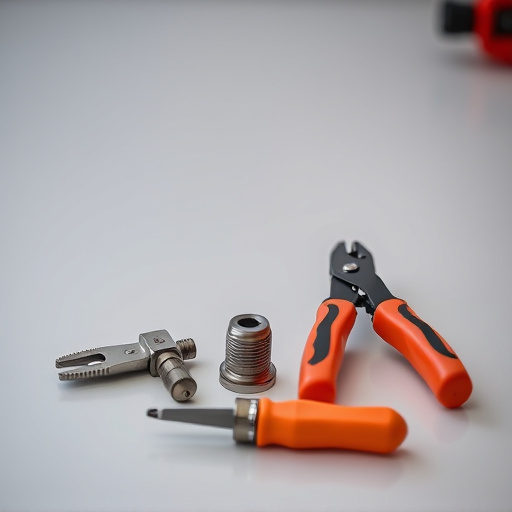
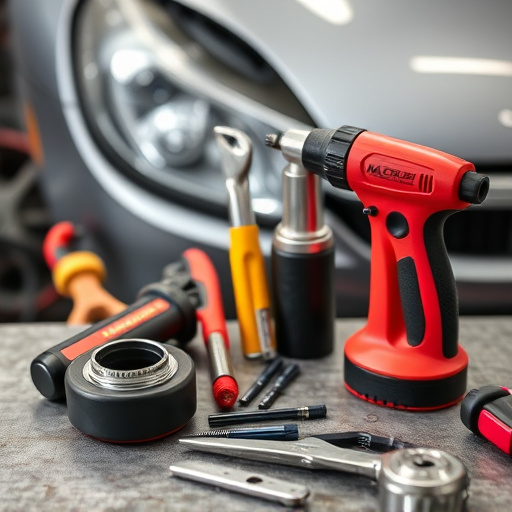
Before beginning any Mercedes pearl effect repair work, it’s crucial to assess the extent of the damage. Inspect the affected area closely for cracks, chips, or other defects in the pearl coating. Note the size and location of the damaged section(s). This step is essential as it guides your choice of materials and repair techniques. If you’re dealing with a minor chip or scratch, you might be able to use touch-up kits designed specifically for Mercedes pearl effect paintless dent repair.
Gather all necessary tools and materials accordingly. For more severe damage, consider seeking professional assistance from a mercedes benz collision repair shop. They have access to high-quality paints and specialized equipment tailored for precise Mercedes pearl effect repairs. Remember, the right supplies can make or break the outcome of your repair efforts, ensuring a seamless and effective restoration of your vehicle’s glossy finish.
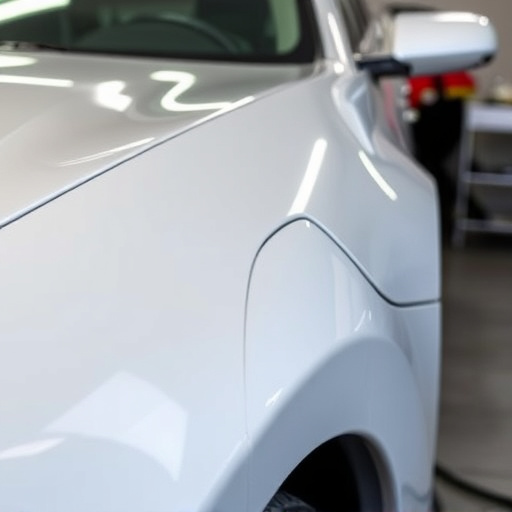
Prepare Surface and Apply Primer
Before beginning the Mercedes pearl effect repair process, it’s crucial to prepare the surface properly. Start by thoroughly cleaning the damaged area with a mild detergent and deionized water to remove any dirt, grease, or debris. Dry the surface completely using a microfiber towel. This step is essential as it ensures the new coat adheres well. Once the panel is ready, use sandpaper to lightly roughen the surface, creating a slightly textured finish. This helps the primer bond more effectively.
After preparing the surface, the next step involves applying a high-quality primer specifically designed for pearl effect finishes. Ensure you follow the manufacturer’s instructions regarding application and drying time. A good primer acts as a bridge between the base coat and the final pearl effect, enhancing the overall repair outcome. This is a critical step in achieving a professional Mercedes pearl effect repair, ensuring the final touchup matches the vehicle’s original aesthetics.
Mix and Apply Pearl Effect Paint
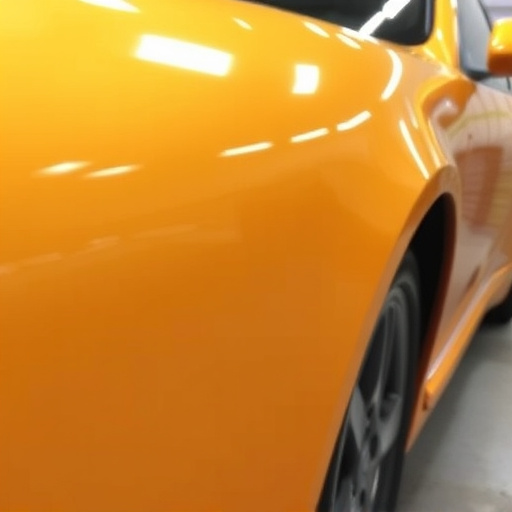
To achieve a flawless Mercedes pearl effect repair, mixing and applying the right paint is key. Start by preparing your workspace in a well-ventilated area, donning protective gear like gloves and a mask. Measure the required amounts of base coat and pearl effect paint, ensuring they’re compatible with your car’s original finish. Blend them thoroughly using a high-quality paint mixer, achieving a consistent, smooth texture.
Next, apply the mixed paint to the damaged area using a fine-tipped brush or spray gun for precise coverage. Work in thin, even layers, allowing each coat to dry completely before adding the next. This meticulous process ensures a seamless blend that matches your vehicle’s original pearl effect, making it nearly impossible to distinguish the repair from the rest of the car body, whether it’s coming from a minor car collision repair or a regular vehicle repair at a trusted car body shop.
Mercedes pearl effect repair can transform a damaged car, restoring its glossy, metallic allure. By following these meticulous steps – assessing damage, preparing the surface, applying primer, mixing and applying pearl effect paint – you can achieve professional results at home. With the right tools and patience, your Mercedes will sparkle like new, showcasing a flawless pearl effect finish.