

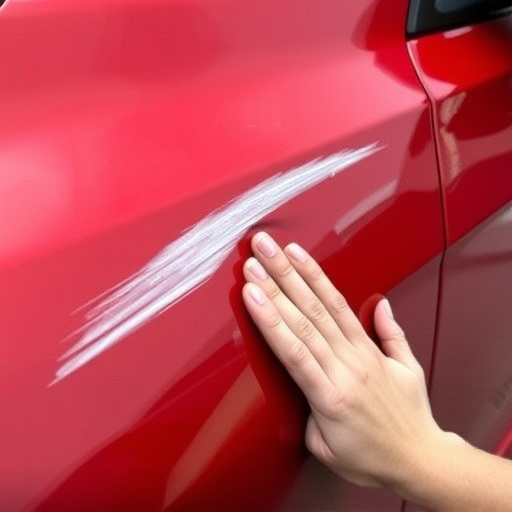
Mercedes pearl effect repair demands advanced techniques and specialized tools to match the intricate finish's composition and appearance accurately. It requires meticulous preparation, precise shade matching using automotive color codes, gradual application of thin layers, and final buffing for a seamless blend, preserving the luxury vehicle's aesthetic value and structural integrity. Safety gear is essential due to the use of harmful chemicals.
Mercedes Pearl Effect panel repairs demand precision and skill. This in-depth guide explores blending techniques to achieve seamless restoration of the unique, iridescent finish characteristic of Mercedes cars. We’ll first demystify the Mercedes pearl effect finish, followed by a detailed look at essential tools and materials needed for successful repairs. Then, we’ll walk through step-by-step blending methods ensuring your fixes are as good as new. Master these techniques and you’ll be well-equipped to handle Mercedes pearl effect repair like a pro.
- Understanding Mercedes Pearl Effect Finish
- Essential Tools and Materials for Repair
- Step-by-Step Blending Techniques for Smooth Repairs
Understanding Mercedes Pearl Effect Finish
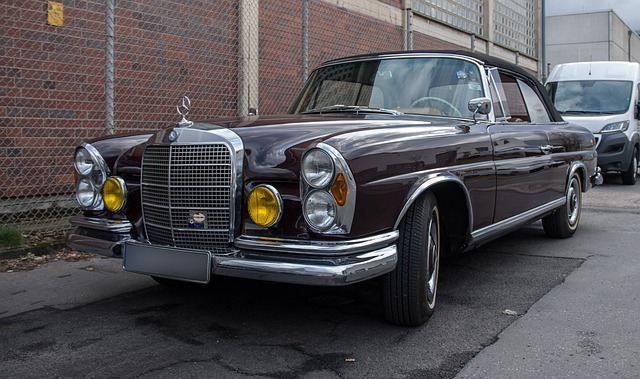
The Mercedes Pearl Effect finish is a unique and sophisticated coating that has become synonymous with high-end automotive craftsmanship. This intricate design incorporates a series of microscopically fine layers, creating a captivating, iridescent appearance that shimmers under different lighting conditions. The effect is achieved through a meticulous process combining advanced paint technology and precise application techniques. Understanding the composition and application of this finish is crucial for successful Mercedes pearl effect repair, ensuring the restored panel matches both the aesthetic and structural integrity of the original vehicle.
When it comes to vehicle paint repair, especially for luxury cars like Mercedes, precision and attention to detail are paramount. Collision repair centers specializing in auto body repairs for such vehicles employ trained technicians who not only match the color precisely but also replicate the delicate finish, ensuring the repaired panel seamlessly integrates with the rest of the vehicle’s exterior. This involves careful analysis of the damage, selection of compatible paints, and application using specialized tools to achieve that signature pearl-like gleam.
Essential Tools and Materials for Repair
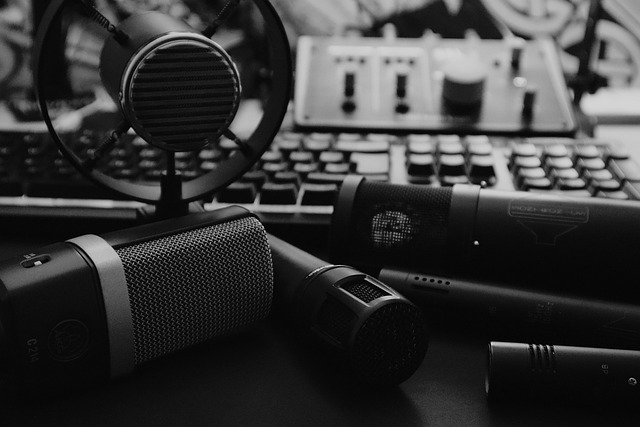
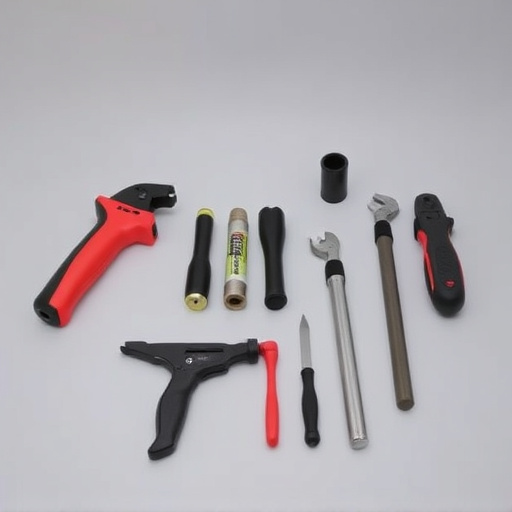
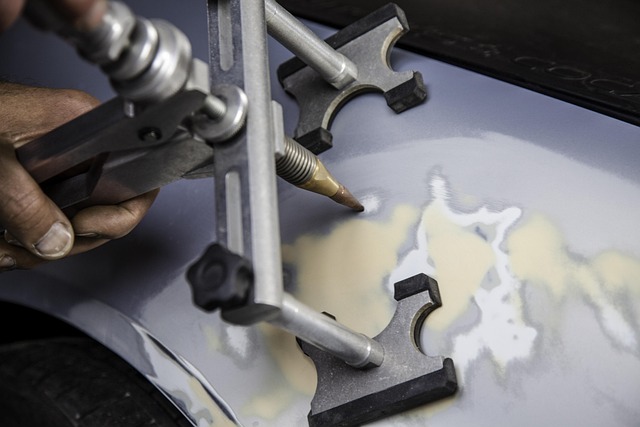
When it comes to Mercedes pearl effect panel repairs, the right tools and materials are essential for achieving a flawless finish that matches the car’s original specifications. For this specific type of repair, you’ll need specialized products designed to handle the unique properties of pearl paint. This includes high-quality polyester or urethane paints, which offer excellent coverage and durability, along with various pigments and tinting agents to match the exact shade of your Mercedes’ pearl effect.
Additionally, a range of tools is crucial for successful repairs. Sandpaper with different grit levels, both coarse and fine, is necessary for smoothing the surface and ensuring proper adhesion. You’ll also require precision tools like small scrapers, putty knives, and applicators to handle intricate areas with care. Don’t forget safety gear such as gloves, masks, and protective eyewear to safeguard against harmful chemicals and ensure a safe working environment, which is particularly important when conducting car paint services, especially for high-end models like Mercedes benz collision repair.
Step-by-Step Blending Techniques for Smooth Repairs
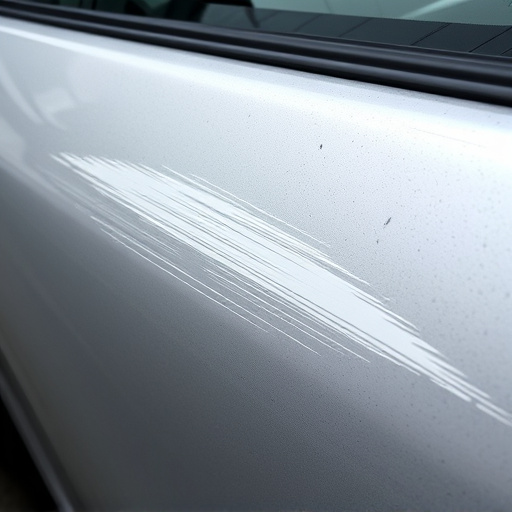
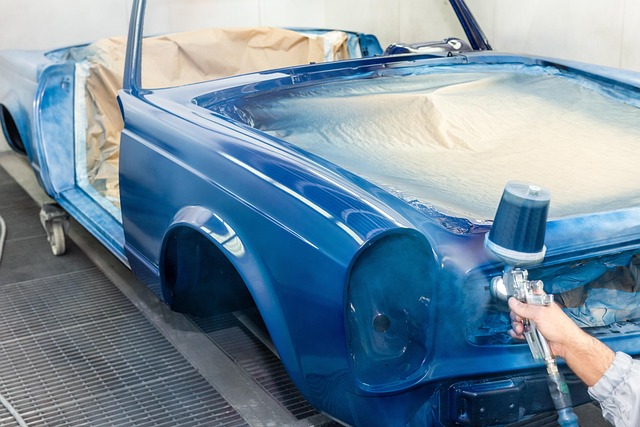
When repairing a Mercedes pearl effect panel, achieving a seamless blend is key to maintaining the vehicle’s sleek and luxurious appearance. Here’s a step-by-step guide for professionals at any skilled vehicle body shop. Begin by cleaning and preparing the damaged area, ensuring all debris and dust are removed. This meticulous initial step ensures a strong bond between the repair and the existing panel. Next, match the pearl effect paint to the surrounding finish using specialized tools and knowledge of automotive color codes. Accurate matching is critical for an undetectable repair that complements the car’s original design.
After the primer has dried, apply the chosen pearl effect paint in thin, even layers, allowing each coat to cure slightly before adding more. This gradual process helps blend the repair seamlessly into the existing panel. Utilize a small, precise applicator for hard-to-reach areas and a wider sponge for larger surfaces, always maintaining a consistent sheen and texture. Once the final coat is applied, use 1000-grit sandpaper to lightly buff the area, achieving a smooth, glossy finish that matches the car’s original pearl effect. This meticulous blending technique ensures no trace of the repair is visible, preserving the vehicle’s aesthetic value and making it nearly impossible for anyone to discern a dent repair or automotive collision repair from the rest of the body.
Blending techniques are a game-changer in Mercedes pearl effect panel repairs, allowing for seamless integration of replacement parts and restoring the vehicle’s original aesthetic. By understanding the unique finish, arming yourself with the right tools, and following a structured blending process, you can achieve flawless results. These skills not only enhance the visual appeal but also ensure the long-term durability of the repair, making it a valuable asset for any automotive enthusiast or professional mechanic. With practice, mastering Mercedes pearl effect repairs will become second nature, promising both beauty and brilliance on every project.