
Mercedes pearl effect paint, known for its intricate iridescent finish, requires careful repair due to susceptibility to damage. Professional shops specialize in meticulous restoration, while DIY repairs necessitate proper tools, materials, and safety precautions. Gather automotive polish, buffer, and other essentials; prepare workspace; and carefully address chips, scratches, or dents to achieve a professional-looking Mercedes pearl effect repair.
Discover how you can safely tackle that pesky Mercedes pearl effect paint damage with a DIY approach! This comprehensive guide breaks down the process into three clear sections. First, understand the unique characteristics of Mercedes pearl effect paint. Next, arm yourself with the right tools and materials for a successful restoration. Lastly, follow our step-by-step instructions to achieve a flawless, like-new finish on your Mercedes without breaking the bank.
- Understanding Mercedes Pearl Effect Paint Damage
- Gather Tools and Materials for DIY Repair
- Step-by-Step Guide to Safe Pearl Effect Paint Restoration
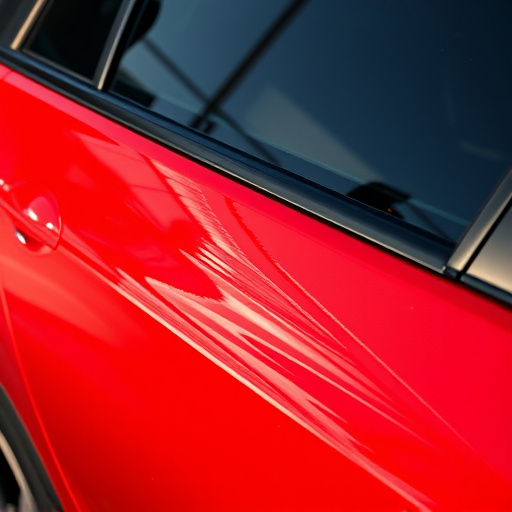
Understanding Mercedes Pearl Effect Paint Damage
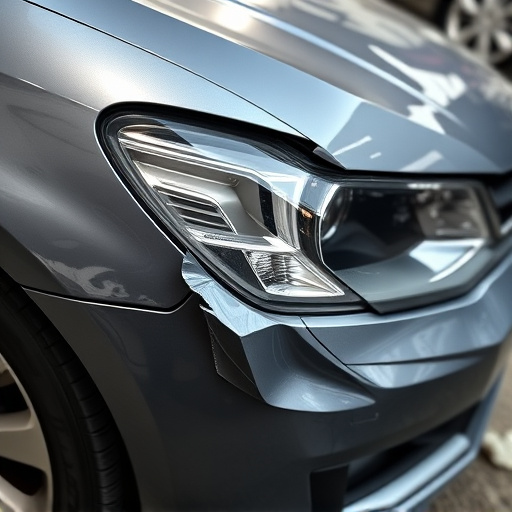
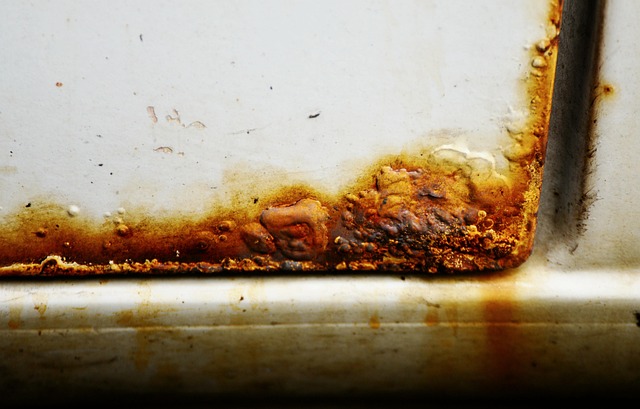
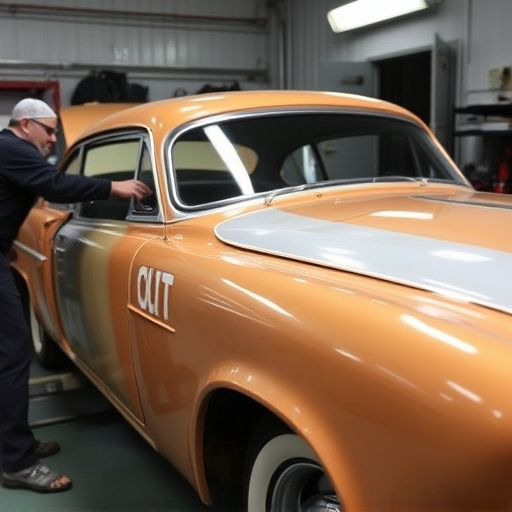
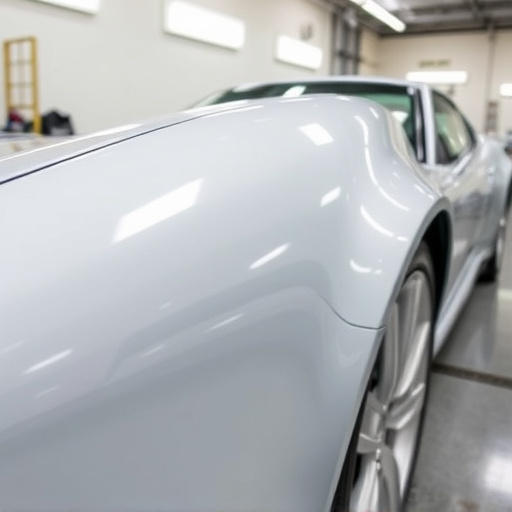
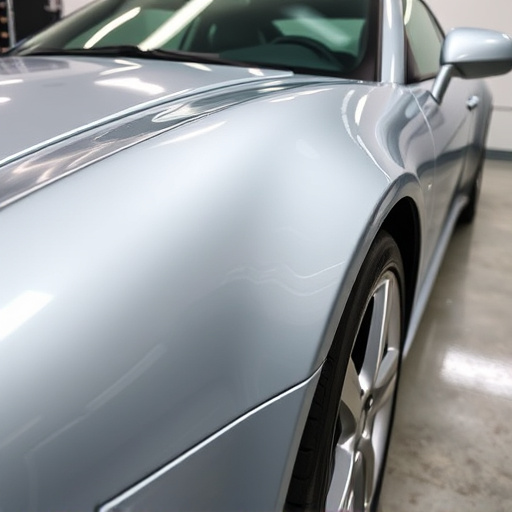
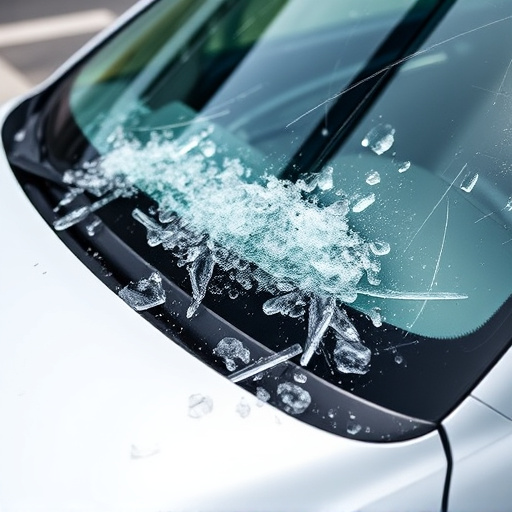
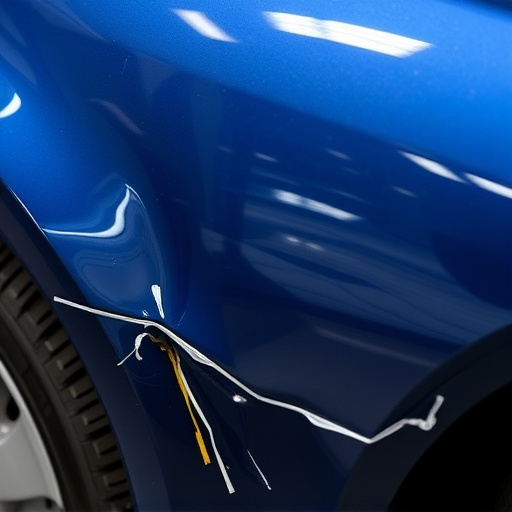
Mercedes Pearl Effect paint is renowned for its stunning, iridescent finish—a signature look for many Mercedes-Benz models. However, this delicate coating can be susceptible to damage from minor bumps, scratches, or even bird droppings, leading to unsightly imperfections. Understanding the nature of Mercedes pearl effect repair is crucial before attempting any DIY solutions.
The intricate design involves multiple layers of paint, with each layer contributing to the unique hue and depth. Even small chips or scratches can disrupt this delicate balance, resulting in a loss of shine and color consistency. Unlike solid colors, repairing pearl effects requires meticulous attention to detail. This is where professional automotive body shops excel, offering specialized services for tire services, car dent removal, and Mercedes pearl effect repair—ensuring the restoration of your vehicle’s stunning exterior without compromising its aesthetic integrity.
Gather Tools and Materials for DIY Repair
Before tackling any DIY Mercedes pearl effect paint repair, it’s crucial to gather all necessary tools and materials. This includes a high-quality pearl effect paint that matches your vehicle’s color precisely (available at many auto parts stores or online), a fine-grit sandpaper (like 600-grit), a degreaser for cleaning the damaged area, and a clear coat to protect the finish after repair. A small paintbrush, a palette for mixing colors, and a protective mask are also essential to ensure a safe and effective repair process.
For a successful DIY Mercedes pearl effect repair, consider factors like working in a well-ventilated area due to the chemical fumes from paint and degreaser. Additionally, wearing safety goggles and gloves will protect you from accidental splashes or inhalation of harmful substances. With these tools and materials ready at hand, you’ll be better equipped to handle minor pearl effect paint damage and restore your vehicle’s glossy finish – even if you prefer not to visit an auto repair near me for such tasks. Remember, a thorough scratch repair and proper vehicle body repair techniques are key to achieving a professional-looking result.
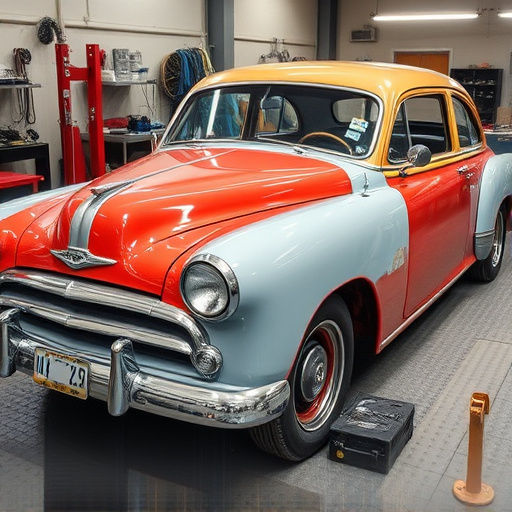
Step-by-Step Guide to Safe Pearl Effect Paint Restoration
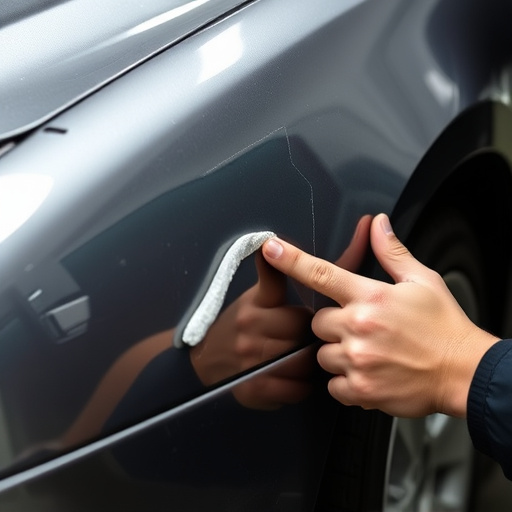
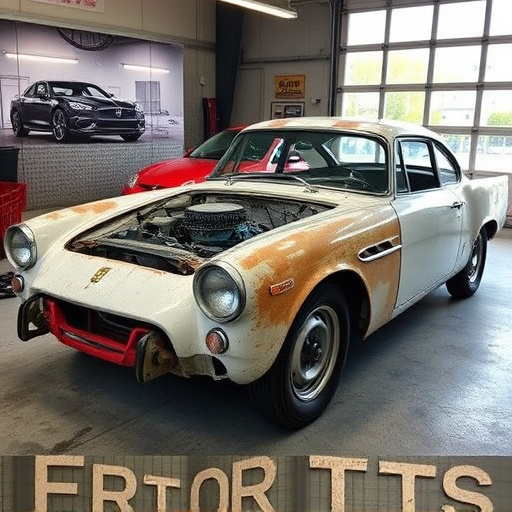
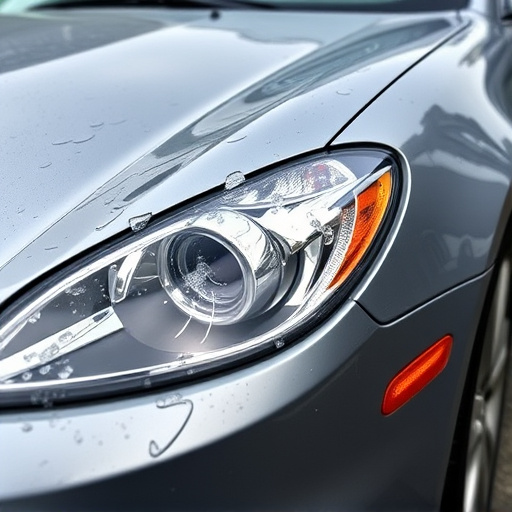
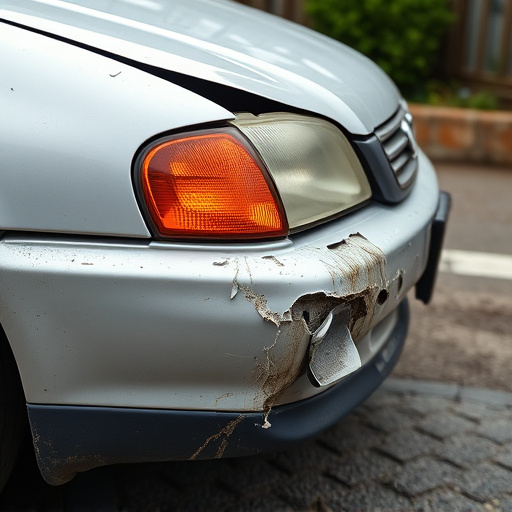
Restoring a Mercedes with a pearl effect paint job to its former glory can be achieved at home with the right tools and precautions. Start by gathering all necessary materials, including a high-quality automotive polish, a microfiber cloth, and a buffer or polisher (handheld or electric). Ensure your work area is well-ventilated to avoid inhaling any harmful fumes. Before beginning, inspect the damaged area for chips, scratches, or dents; if severe, consider professional collision damage repair.
Next, gently clean the surface with a mild soap and water solution using the microfiber cloth. Remove all debris and ensure the area is completely dry. Apply a thin layer of automotive polish evenly over the pearl effect paint, following the manufacturer’s instructions for application and drying time. Once dry, use the buffer or polisher to lightly buff the area, removing any remaining imperfections. The final step involves reapplication of the pearl effect coat if needed, focusing on deeply damaged areas, ensuring a seamless finish that complements your Mercedes’ exquisite automotive collision repair.
If you’ve suffered from minor scuffs or scratches on your Mercedes’ pearl effect paint, DIY restoration is a feasible and cost-effective option. By understanding the damage, gathering the right tools and materials, and following a step-by-step guide, you can safely achieve a like-new finish without breaking the bank. Remember, proper preparation and attention to detail are key to successful Mercedes pearl effect repair.