Mercedes Pearl Effect damage ranges from light to severe, impacting appearance and value due to its delicate, iridescent finish. Proper assessment is key before repair. Gather specialized tools like sandpaper, primer, topcoat, safety gear, and Mercedes pearl effect paint. Carefully prepare and clean the damaged area, then sand, fill, prime, and carefully repaint with pearl effect finish, ending with a clear coat for protection.
Are you a car enthusiast looking to restore your Mercedes’ stunning pearl effect paint without professional costs? This guide is your solution. Learn how to safely address Mercedes pearl effect paint damage using DIY methods. We’ll walk you through understanding the unique characteristics of this finish, gathering the right materials, and following a step-by-step approach for successful restoration. Achieve showroom-like results at a fraction of the cost.
- Understanding Mercedes Pearl Effect Paint Damage
- Gathering Materials for DIY Repair
- Step-by-Step Guide to Safe Pearl Effect Restoration
Understanding Mercedes Pearl Effect Paint Damage
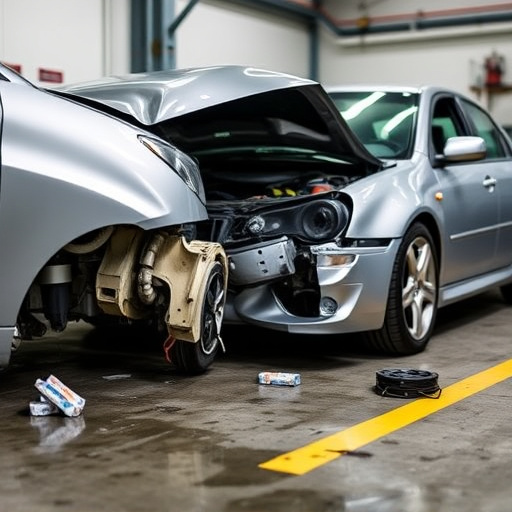
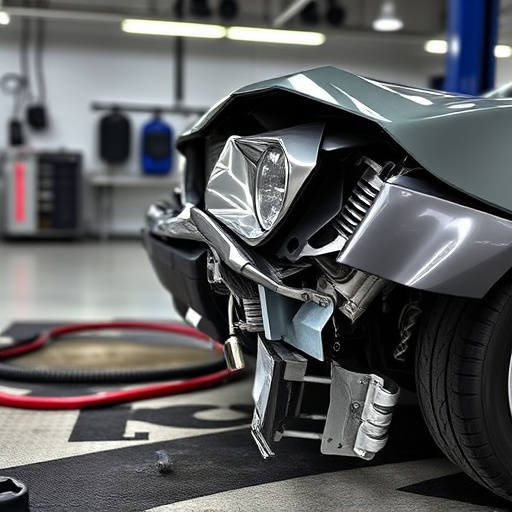
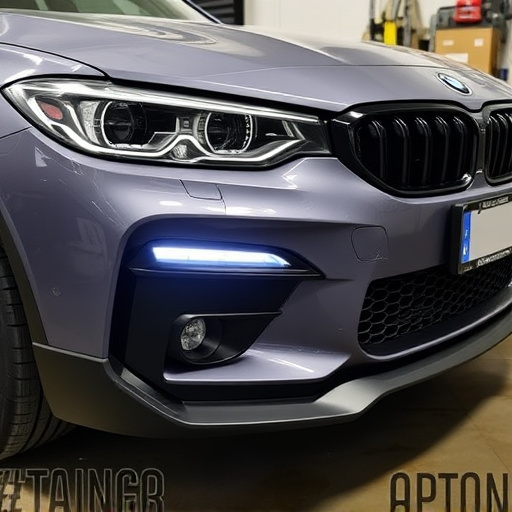
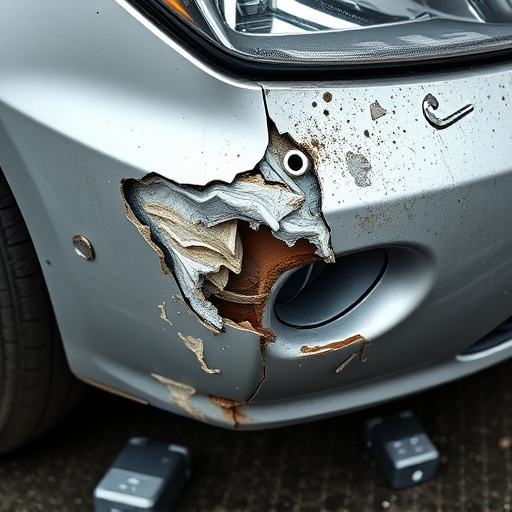
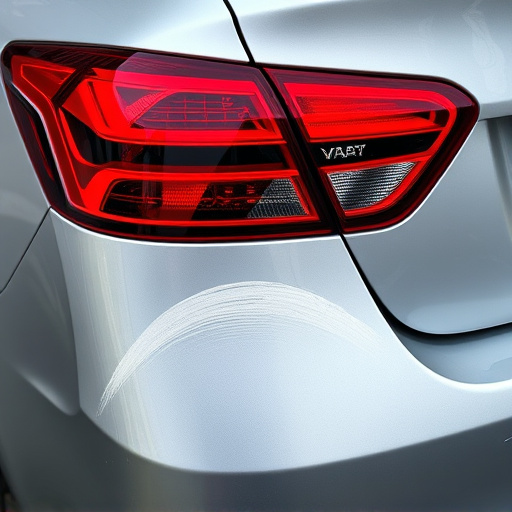
Mercedes Pearl Effect Paint Damage can range from minor scratches and swirls to deeper dents and cracks, each affecting the car’s appearance and value differently. This unique paint finish, characterized by its iridescent, pearl-like shimmer, is often more delicate than standard paints due to the intricate layering process involved in its creation. Even minor damage can reveal the underlayers, losing the car’s distinctive aesthetic appeal.
Identifying the extent of the damage is crucial before attempting any DIY Mercedes Pearl Effect repair. While some light scuffs and scratches may be addressable with polishing compounds, deeper issues might require professional auto body services like frame straightening or even a complete repaint to restore the car’s original, stunning pearl effect finish and maintain its resale value.
Gathering Materials for DIY Repair
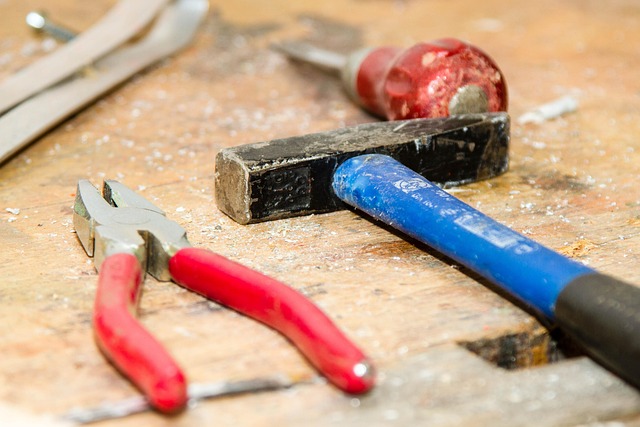
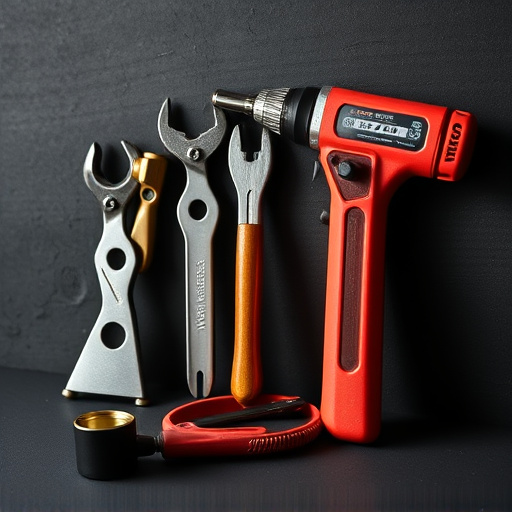
Before you begin your Mercedes pearl effect repair project, it’s essential to gather all the necessary materials to ensure a successful and safe outcome. For this specific task, you’ll require specialized tools and products designed for fine auto painting and dent removal. Start by collecting high-quality pearl effect paint that matches your vehicle’s original finish—accuracy in color is crucial for an invisible repair.
Don’t forget to pick up some fine sandpaper (grit 600-800), a good paint primer, and a topcoat designed for pearl effects. Safety gear, including gloves, goggles, and a respirator, is paramount to protect you from hazardous chemicals. Additionally, consider acquiring a dent puller or a set of putty knives if there are any minor dents or scratches on the surface that need attention before painting. Proper preparation ensures your DIY Mercedes pearl effect repair will not only look good but also last longer.
Step-by-Step Guide to Safe Pearl Effect Restoration

Restoring a Mercedes pearl effect finish safely requires careful planning and the right tools. Here’s a step-by-step guide to help you tackle this task, ensuring your car retains its luxurious gleam:
1. Prepare Your Workspace: Start by setting up your workspace in a well-ventilated area. Cover the floor with drop cloths to protect it from paint splatters. Gather all necessary supplies: sandpaper (grit 400-800), de-greaser, car wash soap, microfiber cloths, a fine-tooth comb, Mercedes pearl effect paint (a close match to your vehicle’s original color), and a clear coat.
2. Inspect and Clean: Thoroughly inspect the damaged area, noting the extent of the pearl effect chipping or fading. Use the de-greaser to remove any built-up grease or grime from the surface. Wash the car thoroughly with car wash soap and microfiber cloths to ensure no contaminants remain that could affect paint adhesion. Allow the panel to dry completely before proceeding.
3. Sand the Surface: Using the fine-tooth comb, gently scrape away any remaining loose pearl effect particles. Then, sand the area using the grit 400-800 sandpaper, working in small sections at a time. This process should smooth out the surface and ensure the new paint adheres properly.
4. Fill and Sand Again: Apply a thin layer of automotive filler to any dents or imperfections, allowing it to dry completely. Once set, lightly sand the filled areas with fine-grit sandpaper to achieve a smooth finish. Clean away dust with a microfiber cloth.
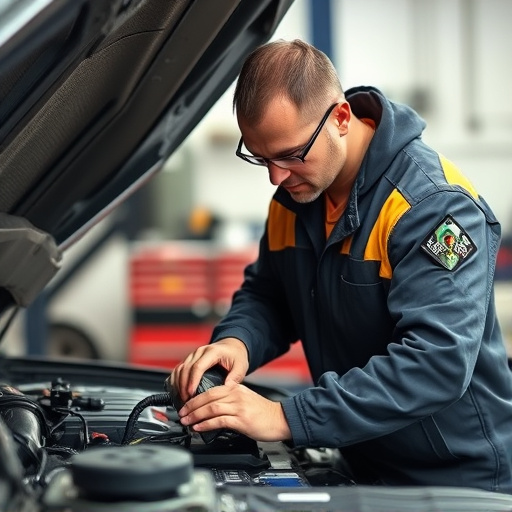
5. Prime and Paint: Apply a primer designed for car paint repair, letting it dry according to the manufacturer’s instructions. Then, using a small brush or spray can (if comfortable), carefully apply Mercedes pearl effect paint, working in thin, even coats. Allow each coat to dry as needed before applying the next. For optimal results, follow with a clear coat designed for car finishes.
If you’ve suffered minor damage to your Mercedes’ pearl effect paint, tackling the repair yourself is a viable option. By understanding the type of damage, gathering the right materials, and following a safe, step-by-step guide, you can achieve a professional-looking restoration. Remember, while DIY methods offer cost savings, for extensive or complex pearl effect paint issues, consulting a qualified automotive technician is recommended to ensure optimal results and avoid further damage.